When it comes to cooking vegetables, you can boil, steam, sauté, or grill them. But have you ever braised them? It’s a hearty and comforting way to enjoy healthy foods.
A simple technique that slowly locks in flavor and juiciness, braising is typically used for meat. But it’s wonderful for vegetables too.
The Best Vegetables to Braise
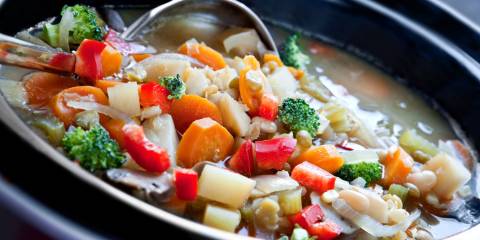
Braising adds complexity to vegetables: they become more tender and satisfying than with other preparation methods.
The best ones for braising are sturdy:
- onions
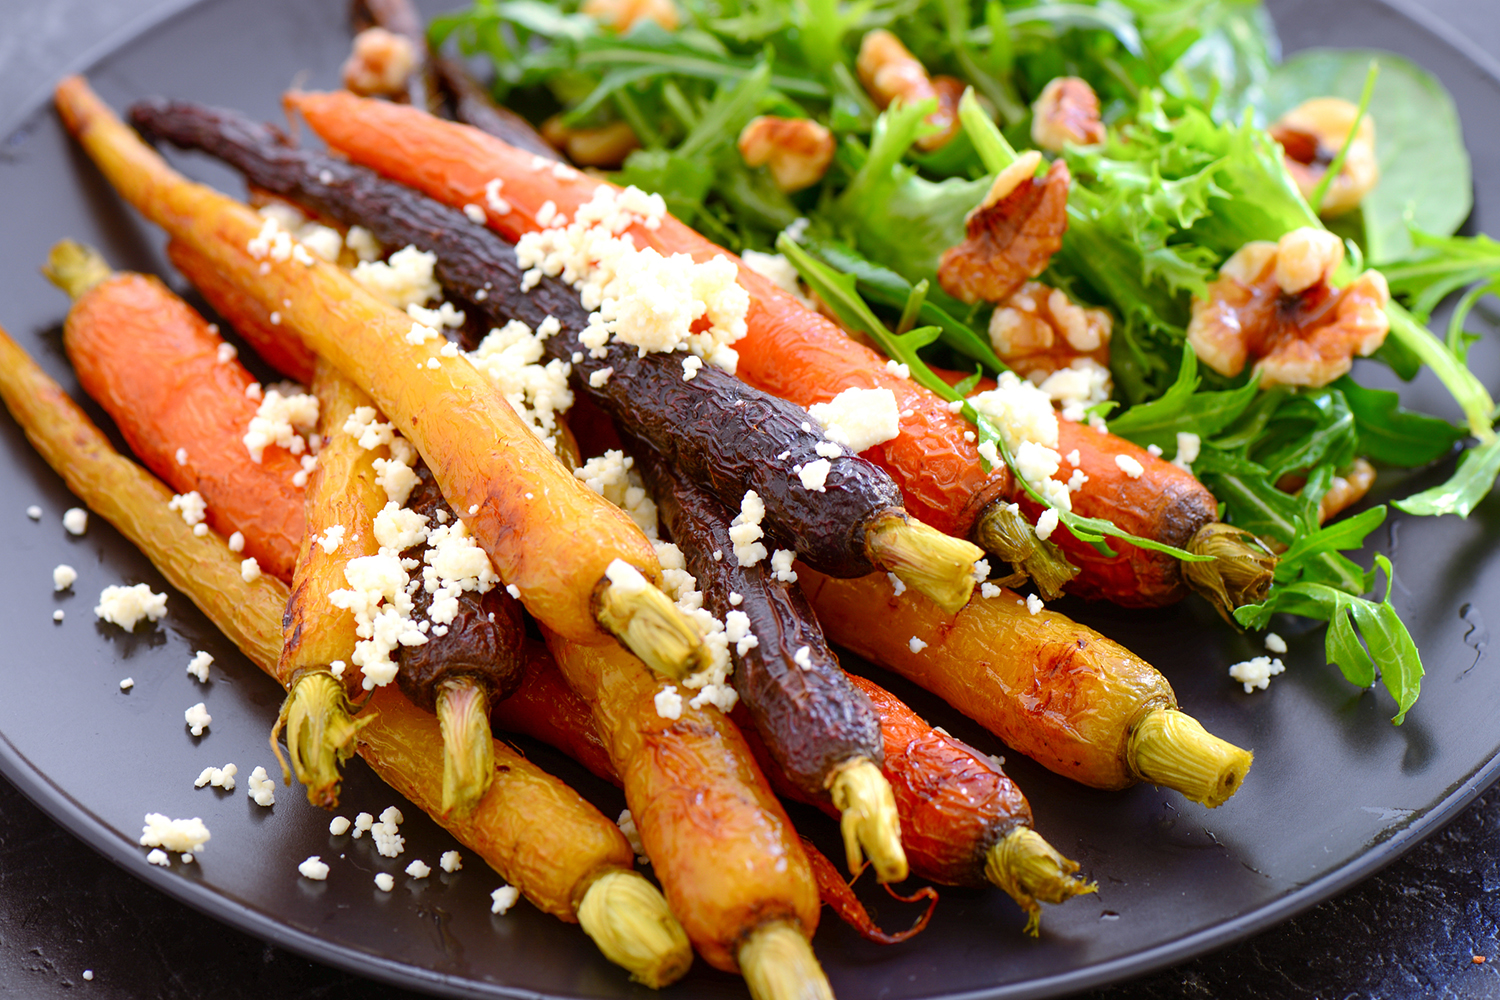
- carrots
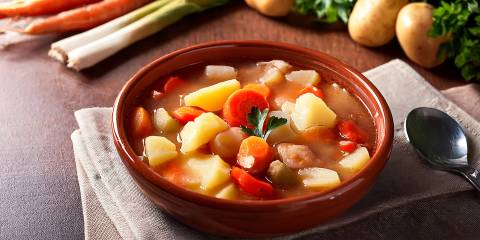
- potatoes
- turnips
- winter squash
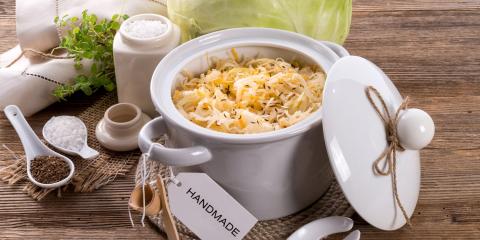
- cabbage
- fennel
- parsnips
- rutabagas
- Brussels sprouts
- leeks
- cauliflower
Popular Braising Liquids
How to Braise Vegetables
-
Ready the Pot
In a large Dutch oven or cast iron pot with a tight-fitting lid, heat some oil or butter.
-
Add the Veggies
Add chopped vegetables of your choice. Don’t crowd the pot with the veggies, or they’ll steam instead of sear.
-
Start Cooking
Begin to sauté the vegetables over medium heat. A little bit of browning is fine. Just be sure they don’t cook all the way through.
-
Add Seasoning and Liquid
Add desired seasonings (dried spices and herbs, garlic) and a braising liquid (use one or a combination of the above).
How Much Liquid Should I Use?
The measurement can vary, but typically the braising liquid reaches a third to halfway up the sides of the vegetables in the pot. This amount infuses the veggies with flavor and helps tenderize them.
-
Finish Cooking
Braises can be finished in the oven instead of the stovetop.
-
On The Stovetop
Reduce the heat to low, and cover the pan with a lid. Continue simmering over low heat until the vegetables are tender.
This takes anywhere from 20 to 40 minutes, depending on the vegetable type.
Make sure the liquid in the pot stays at a simmer and does not boil. Add more liquid if the vegetables appear to be drying out.
-
In The Oven
The benefit of this technique is that you don’t have to worry about the liquid evaporating as much as it does over the burner. The downside? It takes longer.
For the oven method, place the sautéed vegetables in a 325° oven. It’s fine to keep them in the pot they were sautéed in, as long as it’s ovenproof. Cover the pot tightly with an ovenproof lid or some foil.
Bake until the vegetable chunks are tender and can be pierced with a fork. This takes from 20 minutes to two or more hours, depending on the vegetable variety and the size it was cut.
-
-
Add Flavor and Texture
Finish the braise by stirring in a splash of mustard, citrus juice, vinegar, or olive oil.
A sprinkle of nuts, breadcrumbs, grated Parmesan cheese, or citrus zest adds lots of flavor too.
-
Use The Juices
Whether you finish braising on the stovetop or in the oven, don’t let those flavorful juices go to waste!
- Remove the braised vegetables from the pot with a slotted spoon and set them aside.
-
Place the pot with the braising liquid over medium heat. Simmer, reducing the liquid by half.
- Taste and adjust seasonings as desired. Spoon the reduced juices over the reserved vegetables.
-
Garnish and Serve
As a final garnish, consider fresh chopped:
- thyme
- sage
- rosemary
- oregano
- parsley
More Braising Tips
-
Preparation
- Peel, trim, and cut the veggies into larger-sized chunks for a rustic feel and to prevent overcooking. Make sure all the pieces are uniform in size, so they’ll cook evenly.
- If the braised dish contains a mixture of vegetables, be sure the tougher varieties are chopped smaller than the more tender ones.
-
Cooking
- Pressure cookers and slow cookers can be used for braising. Follow the manufacturer’s instructions for cooking times.
-
Serving
- Braised vegetables typically taste better the next day, when flavors and textures have time to improve.
- Delicious when warm, braised vegetables can be equally good served chilled or at room temperature in salads or sandwiches.
-
Storage
- Store braised vegetables in the refrigerator up to three days. Reheat gently.
- Freeze braised veggies for up to three months.
